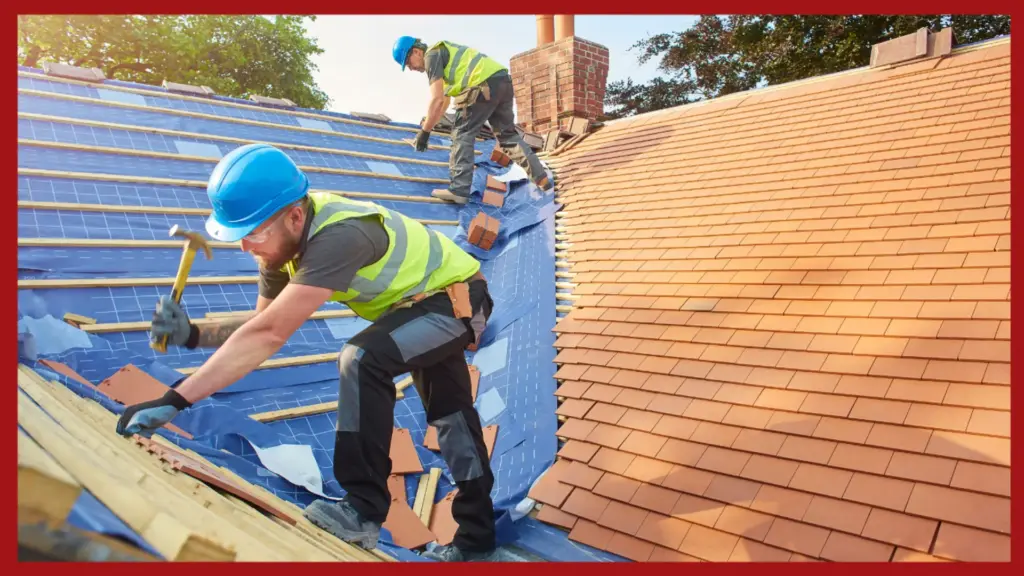
Roofing installation is a fundamental aspect of building or renovating any structure, whether residential or commercial. Understanding each phase in the process helps homeowners and property managers make informed decisions, ensuring long-lasting results. This guide explains the essential steps involved in roofing installation, spotlighting vital details that enrich both quality and durability.
Preparing the Structure for Roofing
Preparation is crucial to ensuring a smooth roofing installation. This phase includes evaluating the building’s current roofing condition, removing any remnants of previous materials, and checking the structural integrity of the roof deck. A well-prepared surface offers a stable base for the new roof. Roofers also inspect elements such as flashing around chimneys, vents, or skylights to ensure there are no leaks or areas of weakness. Choosing the right materials for flashing, underlayment, and roof shingles plays a key role in reinforcing the roof’s overall resilience.
Laying the Underlayment and Initial Layers
Once the structure is prepared, the next step involves laying the underlayment, which serves as the first line of defense against moisture. This barrier protects the roof deck, ensuring that any water penetration is minimized, which can extend the life of the roofing system. In most roofing installations, this phase also involves installing an ice and water shield in areas prone to heavy rainfall or snowfall. These layers act as an additional protective measure, especially along the edges and valleys where water commonly accumulates. A strong underlayment foundation is essential in preventing issues such as rot, mold, or mildew over time.
Installing Roofing Materials
The roofing material selected significantly impacts the outcome of the roofing installation. Common choices include asphalt shingles, metal roofing, tile, or wood shakes, each offering distinct advantages in terms of durability, insulation, and appearance. During this phase, the materials are carefully aligned to provide a seamless finish, as even the slightest misalignment could lead to leaks or uneven wear. Roofers meticulously fasten each component, ensuring that shingles or tiles overlap correctly to create a water-tight barrier. The type of fasteners, adhesive materials, and installation techniques vary based on the material choice, reinforcing the roof’s resilience against weather and temperature changes.
Final Inspection and Quality Assurance
The final step in the roofing installation process is a thorough inspection to confirm the integrity and durability of the installation. This stage ensures that every aspect of the roofing installation meets quality standards. Roofers carefully examine all areas, paying special attention to seams, flashings, and any potential weak spots. This quality check involves addressing any minor adjustments, if necessary, to prevent future issues. By certifying each element is correctly placed and securely fastened, the roofing installation achieves its optimal performance level. Routine inspections and maintenance are often recommended to extend the roof’s lifespan, safeguarding the structure it protects.
Roofing installation may appear straightforward, but each stage demands precise execution to ensure the roof’s durability and efficiency. Understanding the step-by-step process helps property owners appreciate the craftsmanship behind a secure and lasting roof.
Learn more about roofing installation:
Key Phases of a Roofing Installation and What to Expect

